
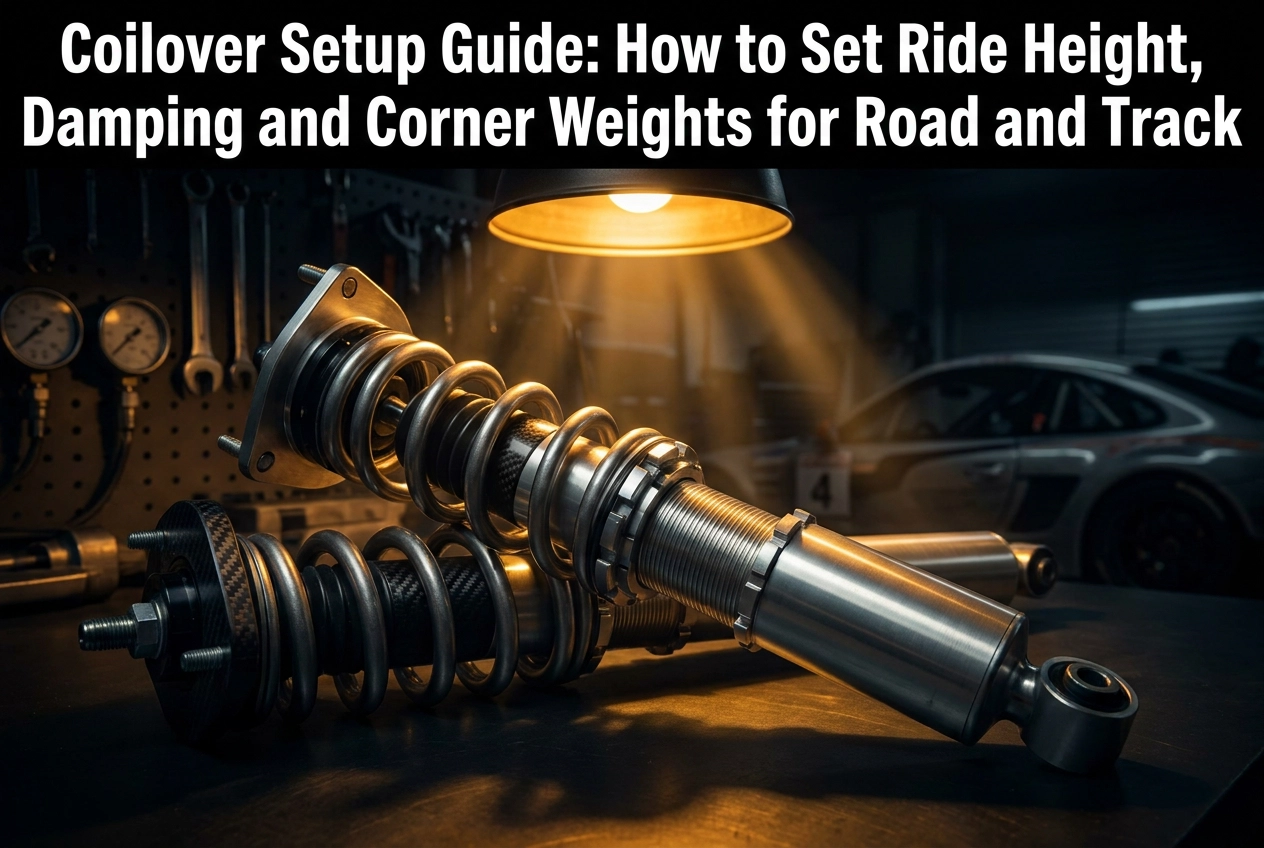
Fitting coilovers is the easy part. Getting them to actually perform is where most builds stall.
A premium coilover kit represents one of the most impactful suspension upgrades you can make to a performance car, but the hardware arriving on your doorstep is only the starting point. Without correctly dialling in ride height, damping and corner weights, that kit can produce a ride that is harsher, less predictable and slower through corners than the setup it replaced. The instructions in the box rarely cover any of this in meaningful depth.
This guide picks up where the purchase decision ends. Working through each core parameter in sequence, you will learn how to set ride height with geometry in mind, understand what your damping clicks are actually doing to compression and rebound behaviour, and use corner weighting techniques to identify hidden imbalances in your setup. Dedicated sections address the specific demands of UK road surfaces and track day use, along with a practical protocol for switching between the two. Whether you are setting up a road car or preparing for your first sprint, the process covered here applies directly.
Before You Start: Tools, Safety and Baseline Measurements
Getting this section right before touching a single collar is what separates a setup that works from one you spend months chasing. If you are new to coilovers and still weighing your options, the Coilovers: The Basics guide covers the product decision. This section assumes the kit is fitted and you are ready to configure it properly.
Tools You Need Before You Start
Gather these before the car goes on axle stands:
- C-spanner or pin spanner for adjusting the lower collar and spring perch
- Quality tape measure or dedicated ride height gauge for consistent, repeatable measurements
- Corner weight scales or four identical bathroom scales on a verified flat surface
- Torque wrench to re-secure fasteners after adjustment
- Wheel alignment gauge or access to a four-wheel alignment bay post-setup
Safety Prerequisites
Work on a level, solid surface without exception. A sloped drive introduces measurement error that compounds through every subsequent adjustment. Ensure the car has been driven beforehand so tyre pressures have normalised and fuel is at a consistent level; both variables affect corner weight readings. Never adjust damping with weight bearing down on a compressed suspension; always unload the corner first.
Recording a Baseline
Before changing anything, measure ride height at all four corners from wheel centre to inner arch lip. Note every damping click position. Photograph the spring perch and collar positions on each corner. These references cost five minutes and can save hours of troubleshooting if an adjustment goes wrong.
Understanding Your Starting Point
Most coilover kits ship at a manufacturer default that is a statistical compromise, neither optimised for road use nor for track. Check the supplied documentation for the default settings and compare them against your target. Treat the factory position as a starting point, not a recommendation.
UK Winter Adjustment Note
If setting up during colder months, allow the car to reach ambient temperature before taking baseline measurements. Cold-soaked dampers and springs exhibit higher effective stiffness than at operating temperature, and measurements taken in these conditions will not reflect real-world behaviour once the car warms up.
Setting Ride Height: Geometry Effects, Measurement Method and Vehicle-Class Benchmarks
With your baseline measurements recorded, ride height becomes the first active adjustment, and it carries consequences well beyond how the car looks on the road.
Ride height is a geometry decision, not just an aesthetic one. Lowering the centre of gravity reduces body roll and sharpens weight transfer, but exceeding sensible limits works against you. On UK roads, where sharp-edged potholes and heavily patched surfaces are the norm rather than the exception, excessive drop increases the risk of bottoming out and can induce bump steer by shifting the steering rack’s effective operating angle relative to the suspension links.
The geometry effects go deeper than clearance. On MacPherson strut and double-wishbone platforms, lowering the car alters the angle of the suspension links relative to the chassis. This changes anti-dive and anti-squat characteristics; the car’s built-in resistance to pitching under braking and squatting under acceleration is altered by those link angles. If you lower too far without correcting geometry, you may find the car pitches and squats more than standard, and no amount of damping adjustment will fix what is fundamentally a geometry problem.
How to Measure Ride Height Correctly
Measure from the centre of the wheel hub to the inner arch lip, not the outer painted edge. The outer edge varies between cars and gives inconsistent readings. Record all four corners independently, then subtract the front average from the rear average to establish your rake angle. A modest rear-high rake of around 5–10mm is often cited as neutral to beneficial for road use, improving high-speed stability without inducing aerodynamic lift at the front.
Benchmarks by Vehicle Class
- Road hatchbacks and saloons: roughly 25–40mm below standard is a widely used practitioner target
- Dedicated track cars: a further 10–20mm is commonly attempted, but only where geometry has been corrected with adjustable arms or rose joints
- Hard limit on standard geometry cars: beyond approximately 50mm of drop, handling compromise consistently outweighs any benefit from the lower centre of gravity
For more on how adjustable ride height affects suspension geometry, the FAQ at performancecarsparts.co.uk covers common setup questions.
Spring Perch vs. Lower Collar
These are not interchangeable adjustments. Raising the spring perch moves the spring seat upward, increasing ride height without altering spring preload on a true coilover design. Moving the lower collar changes the position of the damper body relative to the hub, which directly affects preload and can cause coil bind if the collar is wound too high. Getting this wrong produces either a spring that rattles at full droop or one that is permanently partly compressed, effectively raising the spring rate unintentionally.
Any meaningful ride height change, typically 5mm or more, warrants a full four-wheel alignment. Camber, toe and caster all shift with ride height; skipping the geometry check after adjustment is one of the most consequential omissions in any suspension upgrade. The car may feel reasonable at first, but uneven tyre wear and unpredictable mid-corner behaviour will follow.
Understanding Damping Adjustment: Compression, Rebound and What the Clicks Actually Do
With ride height established, the next variable is damping, and this is where most intermediate setups either come good or go wrong.
Compression damping controls the speed at which the suspension compresses under load. When a wheel strikes a pothole or the car pitches forward under braking, compression damping resists that movement. Increase it and body movement reduces, but more force passes directly into the chassis. Too much compression on UK B-roads produces a car that feels rigid and restless over sharp-edged surfaces.
Rebound damping controls how quickly the suspension extends after that compression. Too little rebound and the wheel bounces away from the road over successive bumps, causing the car to skip and lose traction. Too much and the suspension cannot fully extend between inputs; it progressively packs down, reducing tyre contact and creating a skittish, nervous feel through corners and over crests.
Single-Adjust vs. Twin-Adjust Units
Single-adjustment coilovers move compression and rebound simultaneously on a fixed internal ratio. One adjuster, one click, both parameters shift together. This simplifies the process but limits precision; you cannot correct an imbalance between the two independently.
Twin-adjustment units, common on track-oriented kits, separate the two circuits entirely. This allows genuine fine-tuning, but it also means adjusting both at once makes it impossible to identify which change caused which effect. Always adjust one parameter, test, record the result, then adjust the other.
Reading the Click Scale
Most coilovers offer typically between 16 and 32 clicks of adjustment, though ranges vary by manufacturer. The manufacturer’s midpoint is a statistical starting position calculated across a wide range of vehicles and drivers; it is not a recommendation for your car. Treat it as click zero on your personal calibration.
Adjust in two or three clicks at a time. Drive the same test route each time, covering a mix of surface types if possible. Smaller increments and a consistent route are the only reliable way to hear what the damper is actually doing. Information on adjustable damping coilover options can help you identify which adjustment architecture suits your use case before you begin.
Symptom Diagnostics
| Symptom | Likely cause |
|---|---|
| Bottoming over speed humps | Compression too soft, or ride height too low |
| Tramlining or following camber | Rebound too high |
| Wooden feel, skipping over rapid inputs | Both compression and rebound too stiff for the surface |
Identify the symptom first, then address the single most likely cause before changing anything else.
Dialling In Damping for Road Use on UK Roads
UK road surfaces demand more from a damper than almost any other country in Europe. A single commute can take in smooth dual-carriageway, heavily patched B-road, and potholed urban tarmac within minutes. That variety creates a dual requirement: absorb high-frequency, sharp-edged inputs without transmitting them into the cabin, while controlling the slower, low-frequency body movement that builds over long-wave undulations at speed. No single click position solves both perfectly, but a methodical approach gets you close.
Starting Point for Road Use
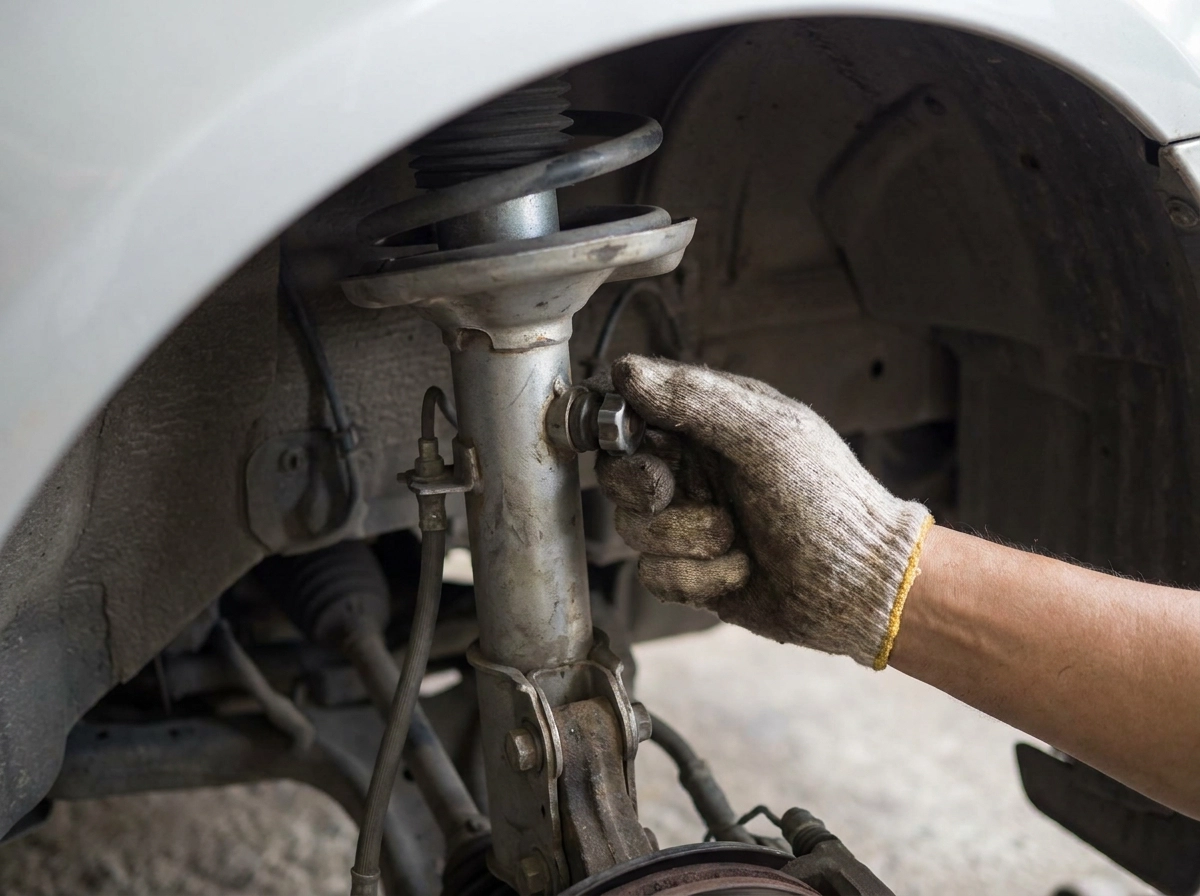
From the manufacturer’s midpoint established in the previous section, try softening rebound by a couple of clicks before your first test drive. Use a familiar, consistently rough road as your benchmark. A correctly set road damper allows the wheel to track the surface continuously; the body should remain largely isolated from sharp inputs, and the car should feel planted rather than briefly airborne after crests. If the body follows the wheel upward over a crest, rebound is still too firm. If the car feels vague and floaty afterward, it is too soft.
Front and Rear Balance on Front-Engined Cars
Running identical rebound settings front and rear on a front-engined car is a common oversight. Running slightly stiffer at the rear provides a useful baseline. It stabilises the rear under braking weight transfer and prevents the rear axle stepping out over mid-corner surface changes, which can otherwise feel like a geometry problem rather than a damping one.
Daily Driver vs. Weekend Car
A daily driver covering urban stop-start mileage benefits from softer compression settings. Repeated low-speed impacts accumulate wear on drivetrain mounts and subframe bushes at firmer settings. A weekend road car used primarily on A and B roads can tolerate two to three additional clicks of compression without the same long-term concern.
Seasonal Adjustment
Cold damper fluid is more viscous, which effectively stiffens the damping response without any input from you. During winter, try softening both by a click or two to maintain consistent behaviour relative to your warmer-weather baseline. Revert those adjustments in spring, particularly before the first track day of the season. The street vs track setup considerations for JDM platforms illustrate why the two contexts demand separate baselines rather than a single compromise position.
Damping Settings for Track Days: What Changes and Why
Track days shift the damping priority entirely. Road settings are tuned to handle unpredictable, high-frequency surface variation; a circuit surface is comparatively smooth, but the loads are far larger. Cornering forces, hard braking from high speed, and lateral weight transfers all demand a damper that controls body movement decisively rather than one that cushions random inputs.
Compression Damping: The Track Adjustment
Increase compression damping by a few clicks, commonly three to five, from your road baseline as a starting point. This reduces nose dive under braking and limits roll through fast direction changes, both of which sharpen the feel of turn-in and give the driver a cleaner read on front-end grip. The improvement is immediate and noticeable; a front end that wallows into corners forces the driver to wait for the car to settle before committing, which costs both time and confidence.
The Kerb Strike Problem
Resist the temptation to keep adding compression stiffness if the car still feels loose. At UK club circuits, kerbing is often aggressive, and a damper running excessive compression will deflect off a kerb rather than absorb it. The result is instability that feels like a handling problem rather than a setup error. If the car is unsettled over kerbs but not harsh over the smooth surface, back compression off by one to two clicks before looking elsewhere.
Spring Rate is the Limit
Stiffer damping cannot compensate for an inappropriate spring rate. A damper controls the rate of motion; it cannot prevent motion the spring lacks the stiffness to resist. If your coilovers are fitted with road-oriented springs, there is a hard ceiling on how much track performance additional compression clicks can recover. Many regular track day drivers address this by running a stiffer spring specifically for circuit use.
Post-Session Inspection
High-load track use accelerates damper wear faster than road miles. After every few track days, check for damper fade (a progressive softening of control during a session), oil seepage at the damper body, and whether your pre-session click settings still produce the expected feel. If the same settings feel noticeably different session to session, internal wear is the likely cause rather than tyre or surface variation.
Incidentally, if you are refining your track day experience beyond suspension, the weighted shifter guide for UK drivers covers a complementary area of cockpit feel that is worth revisiting once your damping is dialled in.
Corner Weighting: What It Reveals and Why It Matters for Car Suspension Upgrades
Damping adjustments optimise how your suspension responds to inputs, but they cannot fix an underlying weight distribution problem. That requires corner weighting.
Corner weighting measures the actual load carried by each tyre contact patch when the car is at rest. Two corners can sit at identical ride heights and still carry significantly different loads, because engine position, fuel level, chassis flex and driver placement all contribute to the final number independently of ride height. The result is a car that handles asymmetrically, feeling planted through one type of corner and nervous through the other.
The targets to aim for
For most road and track performance cars, the front axle should carry roughly 45–55 percent, as commonly targeted, of total weight. Equally important is cross-weight: the sum of diagonally opposite corners (front-left plus rear-right, expressed as a percentage of total weight) should sit as close to 50 percent as possible, a widely used practitioner target. Corner weight imbalance beyond these ranges produces a car that pushes in one direction and rotates too readily in the other, depending on which diagonal is heavier.
What an imbalance actually tells you
If one corner is significantly heavier than its diagonal opposite, the car will tend to understeer in one direction and oversteer in the other. This directional inconsistency is frequently misdiagnosed as a tyre or alignment issue, leading to geometry and damping changes that reduce the symptom without resolving its cause. Before adjusting camber or stiffening rebound on one axle, rule out cross-weight imbalance first.
Ride height and corner weighting must happen together
Adjusting the spring perch on a single corner directly changes the load on that corner. This means ride height and corner weighting are interdependent, not sequential steps. Setting your corner weights and then revising ride height resets the balance you just established. Treat them as a single iterative process, checking both after each adjustment.
Always include driver weight
The driver’s weight, seated on one side of the car, creates a measurable asymmetry. Corner-weighting without the driver in the seat, or an equivalent ballast in place, produces figures that do not reflect real-world conditions. Those numbers are effectively useless for meaningful setup work, regardless of how accurately they were measured. If you are planning broader performance parts upgrades alongside your suspension work, factor in any additional weight those components introduce before finalising your corner weight baseline.
DIY Corner Weighting: How to Do It Without a Professional Setup Rig
Knowing what corner weighting does is one thing; actually measuring it with workshop-level accuracy at home is another. The good news is that a usable DIY check requires minimal kit.
Equipment
You need four identical bathroom scales (capacity of at least 150 kg each) or dedicated corner weight scales, a spirit level, and a helper. Surface selection is the critical variable: even a slight slope transfers measurable load diagonally across the car, corrupting every reading. Check your chosen surface with the spirit level in both axes before positioning the car. A garage floor that looks flat often is not.
Procedure
Place one scale under each tyre. Sit in the driver’s seat, or position equivalent ballast. Bounce each corner three times and allow the suspension to settle fully before reading, as static friction in the dampers can hold the car slightly off its true equilibrium. Record all four values simultaneously; staggered readings allow the car to shift between measurements.
Calculate front-to-rear distribution: add the two front readings, divide by total weight, multiply by 100. Then calculate cross-weight: add the front-left and rear-right readings, divide by total weight, multiply by 100.
Interpreting the Numbers
A cross-weight above roughly 52 percent (a practitioner rule of thumb) means the car resists rotation in right-hand corners more than left. Below roughly 48 percent (likewise a practitioner rule of thumb), the bias reverses. For road use, a result within a couple of percent of 50 is acceptable. For track use, closer to 50 is always preferable, since directional imbalance becomes amplified at speed. Builders working towards a fully sorted platform, such as those building a balanced Supra, treat 50 percent as a non-negotiable baseline before any damping tuning begins.
Correcting an Imbalance
Raise the spring perch on the lighter corner of the lighter diagonal in small increments, adding preload to increase load at that corner. Adjust one corner only, then re-measure. After any correction, re-verify ride height at all four corners, as perch changes affect both simultaneously.
When DIY Has Limits
If cross-weight remains outside range despite methodical adjustment, the problem is likely structural or geometric rather than a spring perch issue. At that point, a professional setup rig paired with a full geometry alignment is required, not more DIY iteration.
Road-to-Track Transition: A Quick-Change Protocol for UK Track Day Drivers
With corner weights verified and your road baseline documented, the transition to a track day requires only targeted changes rather than a full reset.
What to Change Before You Arrive at the Circuit
Write down every current setting before touching anything. Road click positions, ride height measurements, tyre pressures: all of it, noted in writing. This prevents the most common track day mistake, which is losing your road baseline permanently.
Then make these changes:
- Compression damping: increase front and rear by a few clicks from your road baseline, as covered in the Track Days section above
- Tyre pressures: add typically two to four PSI cold above your road settings to account for heat build-up, though check your tyre manufacturer’s guidance; check pressures between sessions and adjust if needed
- Fasteners: verify that all damper top mounts, lower bolts, and spring perch collars are correctly torqued; vibration at track speeds will exploit anything that is only finger-tight
What Does Not Need to Change
For most road-legal coilover setups, ride height, spring preload, and rebound damping can remain at road settings. Rebound tuned for UK roads translates reasonably well to circuit use, unless the venue is particularly smooth and fast, where slightly firmer rebound may help. Altering ride height the evening before a track day introduces geometry variables without time to address them.
The Settings Card
Write your road and track click positions, ride height measurements, and tyre pressures on a small laminated card and keep it in the glovebox. Over multiple track days settings drift without a reference point, and diagnosing a handling change becomes guesswork.
Post-Track Reset
Before driving home, revert compression damping to road settings, check for damper fluid seepage and inspect spring perch collars for movement. Re-check tyre pressures once fully cold.
Pre-Season Preparation
Most UK club circuits run from March to November. If you softened compression and rebound during winter to compensate for increased fluid viscosity, those adjustments must be reverted before the first session of the year. Re-verify corner weights at the same time. Arriving with winter-softened dampers and unverified cross-weight is starting at a disadvantage. A considered approach to brakes and other track day upgrades is equally worth reviewing as part of pre-season preparation.
Common Coilover Setup Mistakes and How to Identify Them
Even a well-executed track day protocol can be undermined if the underlying setup contains fundamental errors. These mistakes are common across all experience levels, and most are invisible until the car behaves badly.
Setting ride height by eye. Lowering the car to look right is the single most frequent mistake made after fitting coilovers as a suspension upgrade. Standard cars often have slightly uneven ride heights from the factory, so matching the visual appearance corner to corner can embed an asymmetry from the start. Measure hub-to-arch at all four corners, target a specific figure, and let corner weighting correct any residual imbalance.
Skipping the four-wheel alignment. As covered in the Ride Height section, even a modest ride height change can shift camber, toe and caster. Alignment is not optional following any coilover installation or subsequent height adjustment; it is a required step.
Adjusting too many parameters simultaneously. Changing compression, rebound, and ride height at the same time makes it impossible to identify which variable caused any improvement or degradation. Change one parameter, drive a consistent test route, record the outcome, then move to the next. This discipline applies to every car suspension upgrade, not just initial setup.
Ignoring spring perch collar torque. Collars that are not properly locked will unwind progressively under road vibration. The result is a slow, undetected change in ride height and, eventually, spring perch movement that can score the damper body. Always engage the locking collar fully and re-check both collars at all four corners after the first 50–100 miles, as a commonly recommended interval.
Running excessive negative camber for aesthetics. Beyond approximately −2.5 degrees, a commonly cited road-use limit, static negative camber reduces the tyre contact patch under straight-line braking and causes rapid inner-edge wear. Cornering grip may feel sharper, but braking distances increase and tyre life shortens considerably. Camber should be set to suit your actual use case, not the look of the car.
Getting the Most from Your Coilover Kit
As covered above, the correct sequence is ride height first, then corner weights, then damping.
The central point of this guide is worth stating plainly: setup is where performance is unlocked. A mid-range coilover kit that has been properly height-set, balanced and damped will consistently outhandle a premium kit that left the garage on its shipping settings. The kit is the potential; the setup is the result.
Keep a setup log. Record ride height at all four corners, damping click positions, corner weight readings, date, ambient temperature, and conditions. A single entry is a snapshot. Several entries over time become a baseline you can return to, compare against, and improve with each adjustment. This is how systematic gains compound rather than reset every time something changes.
Revisit settings after around 500 miles, as a widely recommended check interval. Springs settle and collars can shift under vibration; catching any drift early prevents it becoming a handling problem.
Know when professional input adds value. A single session on a professional corner weight rig, combined with a full geometry alignment, gives you a verified, measured baseline that DIY methods can then maintain and build on. It is not a replacement for understanding your own setup; it is the most accurate starting point you can give yourself.
Browse the coilover range at performancecarsparts.co.uk and use the damping and corner weighting sections of this guide as a reference during and after fitting. The work done at setup, not at the point of purchase, is what determines what the kit actually delivers.
Conclusion
Whether you are building a comfortable road car or preparing for your next track day, the tools and knowledge in this guide give you a clear starting point. Browse the coilover range at performancecarsparts.co.uk, fit with intention, and set up with precision. That is where real performance begins.