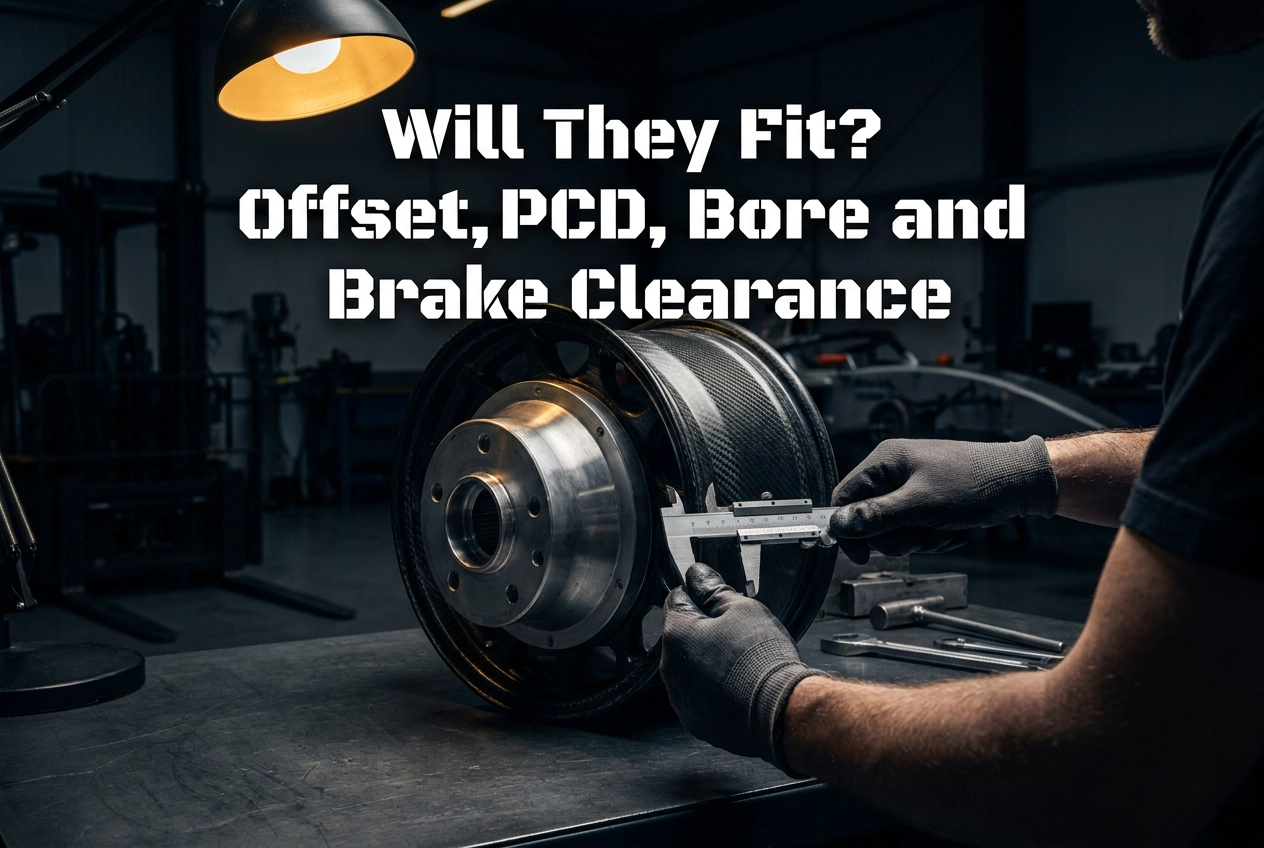
Buying aftermarket wheels should not feel like a gamble. Too many enthusiasts order a set based on looks or a forum post, only to find they rub the arches, foul the brake calipers, or sit proud of the bodywork. Fitment is arithmetic, not luck. Every wheel has measurable specifications, and your car has fixed limits. When you match the two before you spend money, you avoid the expensive cycle of trial, error, and returns.
This tutorial treats wheel fitment as an engineering problem. You will learn the four checks that decide whether a wheel fits, what measurements to collect from your car, and how to calculate offset and width together. We cover PCD and centre bore, brake caliper clearance that spec sheets omit, and arch clearance at full lock and compression. A worked example takes you from stock wheels to aftermarket sizes. We then address the UK consequences of changing sizes: tyre diameter and speedometer accuracy, MOT requirements for wheel projection and tread coverage, and what a wheel change means for insurance disclosure. A pre-order checklist closes the loop. Measure first, order second.
The Four Checks That Decide Whether a Wheel Fits
Fitment is arithmetic, not luck. Every aftermarket wheel purchase reduces to four pass or fail tests, and failing any one of them means the wheel does not fit, however well the other three score.
PCD (bolt pattern) must match exactly. A 5×114.3 wheel will not bolt to a 5×112 hub, and no amount of torque, wobble bolt cleverness or wishful thinking changes that.
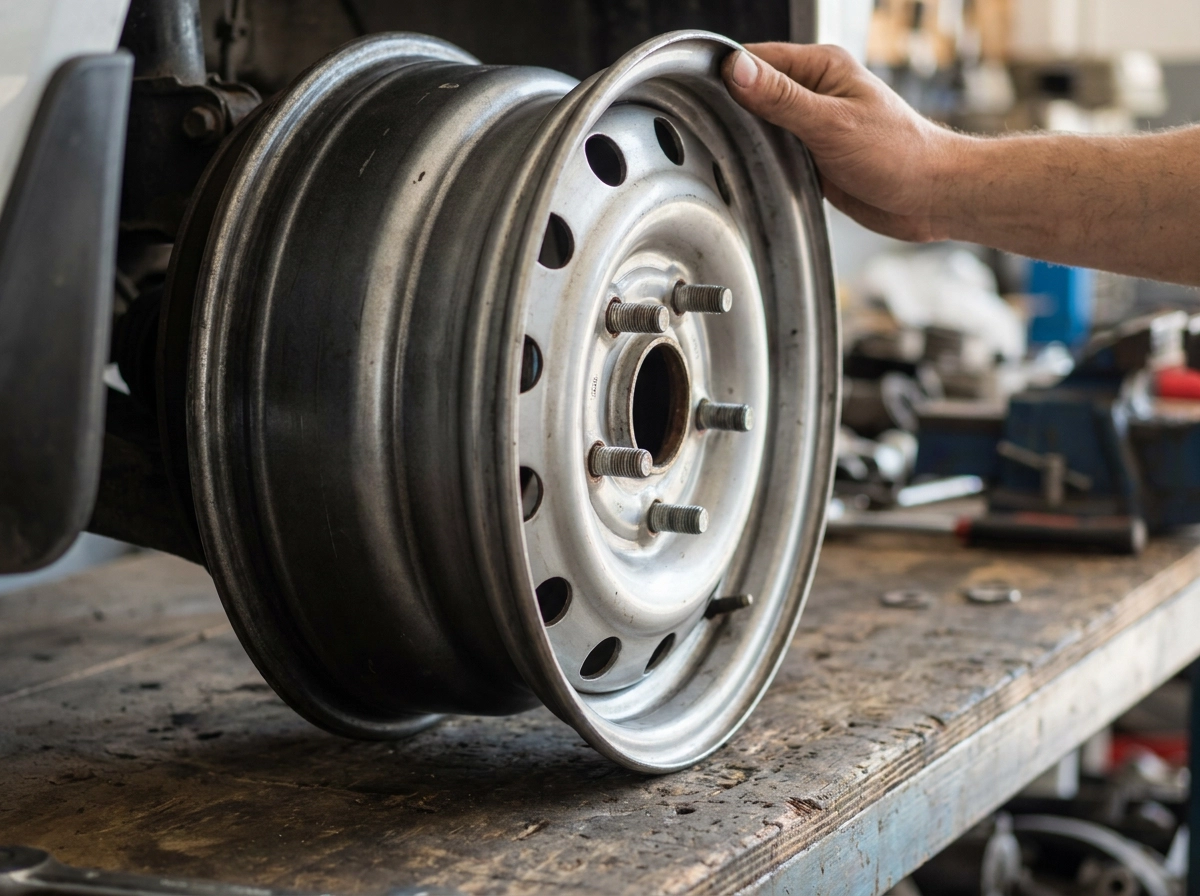
Centre bore must equal your hub spigot diameter, or be larger and run with a correctly sized spigot ring. A smaller bore cannot be persuaded onto the hub.
Offset only means something alongside width. A wheel can carry the same ET as your stock rim and still sit roughly 12 mm further out if it is half an inch wider, because the extra width is split either side of the centre line before offset is applied. Treat the fitment sum as width and offset together, never ET on its own.
Caliper and arch clearance are physical, three-dimensional checks: spoke profile against the brake caliper, barrel against the caliper body, and tyre shoulder against the arch liner at full lock and under compression. A spec sheet will not tell you any of this.
All four are measurable before you pay a deposit, using a tape measure, your car’s factory figures and the candidate wheel’s spec sheet. That is the whole point of doing this properly, and it is the difference between a confident order and a returned set.
If you are still choosing between designs, our aftermarket wheels buyer’s guide for UK performance cars covers materials, legality and price tiers. The rest of this section works through each check with the numbers.
What to Collect Before You Do Any Maths
Before any offset arithmetic, assemble the data. Start with your car’s factory PCD, centre bore, offset, wheel width and tyre size. These are in the owner’s manual, on the door jamb or VIN plate sticker, and often stamped inside the existing wheels as ET45 8J x 18. Record them alongside your current Wheels and Tyres specification, because stock is your baseline.
Next, get the candidate wheel’s full spec: width in inches, offset in millimetres, PCD, centre bore, plus a spoke profile drawing or the manufacturer’s brake clearance data. Headline diameter alone is not enough.
Tools: a steel rule or tape measure, modelling clay or feeler gauges for caliper checks, chalk for arch marks, and a way to load the suspension, such as helpers in the boot.
Write down existing modifications honestly. Spacers, coilovers, big brake kits and rolled arches move the baseline before calculations start.
Finally, list small parts before ordering: spigot rings, correct bolts or nuts (flat versus cone seat, and thread pitch), and the hub torque figure from the vehicle manufacturer. Missing fasteners or rings turn a correct wheel into a second order.
PCD and Bolt Pattern: The One Number You Cannot Negotiate
With those figures and the candidate wheel’s full spec in front of you, PCD is the first hard pass or fail. PCD, pitch circle diameter, is the diameter of the circle running through the centres of the bolt holes, written as stud count x millimetres: 5×114.3 and 5×112 are common examples. It must match exactly.
You can verify it yourself. On a 4-stud hub, measure centre to centre across two opposite holes. On a 5-stud hub, measure centre to centre across two adjacent holes and multiply by 1.7012.
Adapters and wobble bolts are not free fixes. An adapter plate adds thickness exactly like a spacer, so it shifts offset and must be declared as a modification. Wobble bolts rely on the wheel being a close match. Dual-PCD wheels have ten holes covering two fitments; check the secondary pattern matches your hub exactly rather than assuming any hole will do.
Fasteners are the second failure point: bolt seat type, thread pitch, and whether your car uses bolts or studs and nuts must all match. The same verification discipline applies to other upgrades, including the choice covered in our weighted shifter guide: knobs vs short shifters for UK drivers.
Centre Bore and Spigot Rings: Centring the Wheel on the Hub
With PCD confirmed, the next pass-or-fail dimension is the centre bore: the large central hole in the wheel that fits over the raised hub spigot. The wheel bore must equal the spigot diameter or exceed it. A larger bore is acceptable only with a spigot ring of the correct dimensions. Without that ring the wheel centres on the bolts alone, which is not what the fasteners are designed for and can produce vibration.
The ring locates; it does not carry load. Clamping force at the mounting face and the friction it creates hold the wheel. Torque the bolts with the wheel sitting flat and concentric on the hub, never hanging on the studs.
A bore smaller than the hub will not fit. Machining it out is acceptable only when the wheel manufacturer confirms there is enough material; do not assume a machine shop can safely open an unknown casting. As with any clearance-led upgrade, settle dimensions before buying; the same principle runs through our front-mount intercooler upgrade guide, where sizing comes first.
Plastic rings are cheap and common; metal rings tend to survive repeated hot and cold cycles better. Either way, replace damaged rings rather than refitting them.
With the wheel centred, the next arithmetic is where the rim and tyre sit relative to the arch and suspension.
Offset and Width Together: The Only Fitment Sum That Matters
With centre bore sorted, the remaining fitment number is not offset alone but offset applied to width. Offset, or ET, is the distance in millimetres from the mounting face to the wheel centre line. Positive ET, normal on most modern cars, places the mounting face outboard of that line; negative ET pushes the wheel outboard relative to the hub.
An 8J ET45 and a 9.5J ET45 do not sit in the same place. The extra 1.5 in (38.1 mm) is split either side of the centre line before ET is applied. Calculate movement from your existing wheel:
Outer face movement (mm) = half the width change (mm) minus ET change (new ET minus old ET). Inner face movement (mm) = half the width change (mm) plus ET change.
Convert inches with ×25.4. Going from 8J ET45 to 9J ET35: width change 25.4 mm, half 12.7 mm; ET change minus 10 mm. Outer face moves 12.7 minus (minus 10) = 22.7 mm outboard; inner face moves 12.7 plus (minus 10) = 2.7 mm outboard.
Direction check: lower ET pushes outboard, higher ET pulls inboard, and 10 mm of ET change equals 10 mm of movement. Tabulate candidate offsets against measured arch gap and inner clearance before ordering. Large offset jumps also change scrub radius and steering weight, so treat them as handling decisions. If you later adjust ride height or camber, revisit these figures using our guide to wheel alignment and camber, toe and caster setup before finalising the spec.
Brake Caliper Clearance: What the Wheel Spec Sheet Does Not Show
Offset and width tell you where the wheel sits, not what shape it is. Two 18×8 ET40 wheels can differ wildly in brake clearance because spoke profile, concavity and flat versus dished faces all change the gap to the caliper.
There are three clearances to confirm: spoke face to the outer caliper face, wheel barrel to the caliper body at its widest point, and balance weights to the caliper. Weight clearance is the easiest to solve, since weights can often be relocated.
For the physical test, press clay or plasticine onto the caliper, fit and torque the wheel to spec, rotate it fully, then measure what remains. A couple of millimetres is not enough once heat expansion and flex are considered, so leave a sensible margin. While the wheel is off, check pad thickness; our guide to brake pad wear sensors and thickness gauges covers the tools.
Bigger brake kits and larger discs push the caliper outboard and upward, so check clearance against the brakes you have and the brakes you plan to fit. Our own brakes range covers calipers and discs if an upgrade is part of the plan, and it changes the answer to this check.
Spacers buy caliper clearance by moving the whole wheel outboard, which consumes arch clearance and has to be declared as a modification. They are a trade, not a free fix. With the caliper side measured, the next constraint is the arch under lock and compression.
Arch and Suspension Clearance: Full Lock and Compression
Caliper clearance settled, the arch is the next physical constraint, and it cannot be judged from a static gap. As the wheel steers, the tyre swings outboard; as the suspension compresses, it rises into the arch. A fitment that looks generous on a level driveway can rub on the first hard corner.
Check every fixed point: arch liner, arch lip whether rolled or not, strut body or spring seat, suspension arms, brake hoses and inner wing. Your offset sum gives the inner face movement figure, which tells you directly how much room you have lost or gained on that side.
Tyre width and shoulder shape matter as much as wheel width. Hypothetically, a 235 on a 9J stretches and can clear where a squarer 255 on the same rim rubs, so run the check with the exact tyre size you intend to fit.
Load the car to simulate compression, turn lock to lock, and listen and feel for contact. Inspect for witness marks after a few miles; crude, but it is the same evidence a rubbing tyre leaves. If you are lowering the car or changing camber, complete the check only after the suspension has settled at its final ride height, as covered in our coilover setup guide. Ride height and camber change the answer completely.
A Worked Fitment Calculation From Stock Wheels to Aftermarket
With your arch gap measured at ride height, you now have the numbers to run the full calculation. Take a hypothetical car on 18x8J ET50 wheels with 225/40R18 tyres, a 5×112 PCD and a 66.6 mm centre bore, against a candidate 18x9J ET42 with the same PCD and bore.
Two checks pass immediately. The PCD matches exactly, and the bore is identical, so no spigot ring is needed here.
Now the sum that matters. The width change is 25.4 mm, so half is 12.7 mm. The ET change is minus 8 mm. Outer face movement is 12.7 plus 8, giving 20.7 mm further outboard. Inner face movement is 12.7 minus 8, so 4.7 mm outboard. The whole wheel shifts outboard and the inner side gains 4.7 mm of room. That clearance will also alter camber and toe, so budget for wheel alignment once fitted.
Your measured static arch gap is 22 mm, with roughly 15 mm of compression travel to account for. Against 20.7 mm of outer movement, the static margin is under 2 mm. Compression consumes it instantly, so expect rubbing under load at full lock.
Drop to ET45 and the outer face moves 17.7 mm, leaving 4.3 mm of static margin and a workable allowance for travel. Keep ET42 and you need a narrower tyre, a rolled arch or a revised ride height. Record the final specification, because those figures are what you would declare to your insurer.
Tyre Size, Overall Diameter and Speedometer Accuracy
With offset, width and physical clearance settled, the final arithmetic is the tyre itself. Overall diameter is wheel diameter plus two sidewalls, where sidewall height is tyre width multiplied by aspect ratio divided by 100. For the stock 225/40R18 used earlier, sidewall height is 225 × 40 ÷ 100 = 90 mm, so diameter is 457.2 + 180 = 637.2 mm. Run the same calculation for the candidate tyre and compare the results as a percentage; that percentage is also the change in rolling circumference.
A larger rolling diameter turns fewer times per mile, so the speedometer reads lower than true speed. A smaller diameter reads higher. Many owners aim to stay within a couple of per cent of standard diameter to keep the reading plausible.
The speedometer is an MOT inspection item, so check the current DVSA MOT inspection manual for cars for the exact criteria rather than relying on forum tolerances.
Recalibration routes exist: correcting the signal in software where the platform allows it, choosing an aspect ratio that restores the diameter, or running a GPS-based speed display. Each has a cost, and software changes are modifications in their own right.
Tyre width changes gearing, clearance and load rating, so confirm the load index and speed rating of the new tyre meet the car’s requirements before ordering, not after delivery.
MOT: Wheel Projection, Tread Coverage and Defect Severity
Speedometer accuracy is only one item on a longer list. Wheels and tyres are MOT-testable, and the authority is the current DVSA MOT inspection manual for cars. Do not rely on an HGV manual, a council document or a forum post; check the car-specific criteria before presenting a fitment for test.
Projection is the question owners ask most: how far a wheel or tyre may sit proud of the bodywork. The legal reference is the Road Vehicles (Construction and Use) Regulations 1986 on legislation.gov.uk. That is not the same document as the MOT manual, so read both rather than assuming a tester will pass anything that clears the arch.
The inspection itself looks at condition and security: damage, distortion, corrosion and whether the assembly is properly attached. A stretched tyre whose tread does not cover the rim width, or a wheel located on bolts without a spigot ring, are the kinds of detail that become defects.
Severity drives the consequence. DVSA’s categorisation of vehicle defects guide, Part 2 of which covers cars, sets out prohibitions (PG9): immediate where further driving would risk injury, or delayed for up to ten days. The guide states it is not a legal document, so it explains consequences rather than defining fitment rules.
An MOT pass does not certify that your wheels are legal, correctly rated or declared to your insurer. It is one check among several, not a fitment approval.
Insurance Disclosure: What a Wheel Change Actually Means
An MOT pass is not a fitment approval, and it is not an insurance declaration either. Changing wheel size, offset or width, or adding spacers or adapters, is a modification. Insurers expect it declared before the policy is relied on. A cosmetic swap between identical-spec wheels is a different conversation from a wider, differently offset set.
Undeclared modifications are the risk most owners underestimate. Where the declared risk does not match the vehicle, an insurer can reduce a payout or decline a claim. Consumer disclosure is governed by the Consumer Insurance (Disclosure and Representations) Act 2012, so confirm your position with your insurer in writing and check current FCA and insurer guidance, not a decade-old forum thread.
Premium impact varies by insurer and by how far the fitment moves from standard. Some accept a like-for-like wheel change with little or no adjustment; others decline anything that changes offset or width. Ask before ordering, not after the wheels arrive.
Keep the arithmetic you did. A written record of PCD, bore, offset, width, tyre size and any spacers is exactly the specification you will be asked to declare, and it removes ambiguity later.
If you sell the car with the wheels fitted, tell the buyer what has been declared and what has not. Keep the original wheels if a return to standard is possible. That record feeds directly into the pre-order checklist.
Pre-Order Fitment Checklist
With the insurance position confirmed, use this checklist to close out the order.
- PCD: Confirm the pattern against your hub. On dual PCD wheels, verify the second pattern matches exactly. Confirm bolts or nuts, seat type (cone or flat) and thread pitch.
- Centre bore: Must equal your hub spigot or be larger, with the correct spigot ring ordered at the same time.
- Width and offset: Convert to outer and inner face movement in millimetres: outer equals half the width change minus the ET change; inner equals half the width change plus the ET change. Compare both with measured arch gap and inner clearance, leaving margin for compression and steering.
- Caliper clearance: Confirm by clay test, spoke profile drawing or published brake clearance data, checked against the brakes fitted and any planned upgrade.
- Tyre size: Selected, overall diameter compared with stock, speedo effect noted, load index and speed rating confirmed.
- Paperwork and fitting: Insurance notified, declared spec recorded, MOT implications understood, and torque figures to hand for fitting day.
Only then place the order.
Conclusion: Measure First, Order Second
PCD and centre bore are pass or fail; offset, width and clearance are measurements against your specific car. Fitment is a short list of sums, not a gamble.
Do the arithmetic before you spend. Half the width change minus the ET change gives the outer face movement in millimetres, and that single number tells you whether the arch has room. If it leaves under a few millimetres against your measured gap, the fitment will rub under compression.
Then do the physical checks, because spoke shape and tyre shoulder behaviour never appear on a spec sheet. Clay on the caliper, the car loaded, lock to lock, then inspect for witness marks.
Finally, treat the paperwork as part of fitment. Declare the change to your insurer, check the current DVSA MOT inspection manual for cars and the Construction and Use Regulations, and keep your original wheels for a return to standard.
If you are planning brake or suspension work alongside new wheels, settle those first. Our brakes and suspension ranges are the parts that change caliper and arch clearances, so fit them, then calculate once against the final setup. Measure first, order second, and the wheels you buy will be the ones that fit.
Shop related performance parts

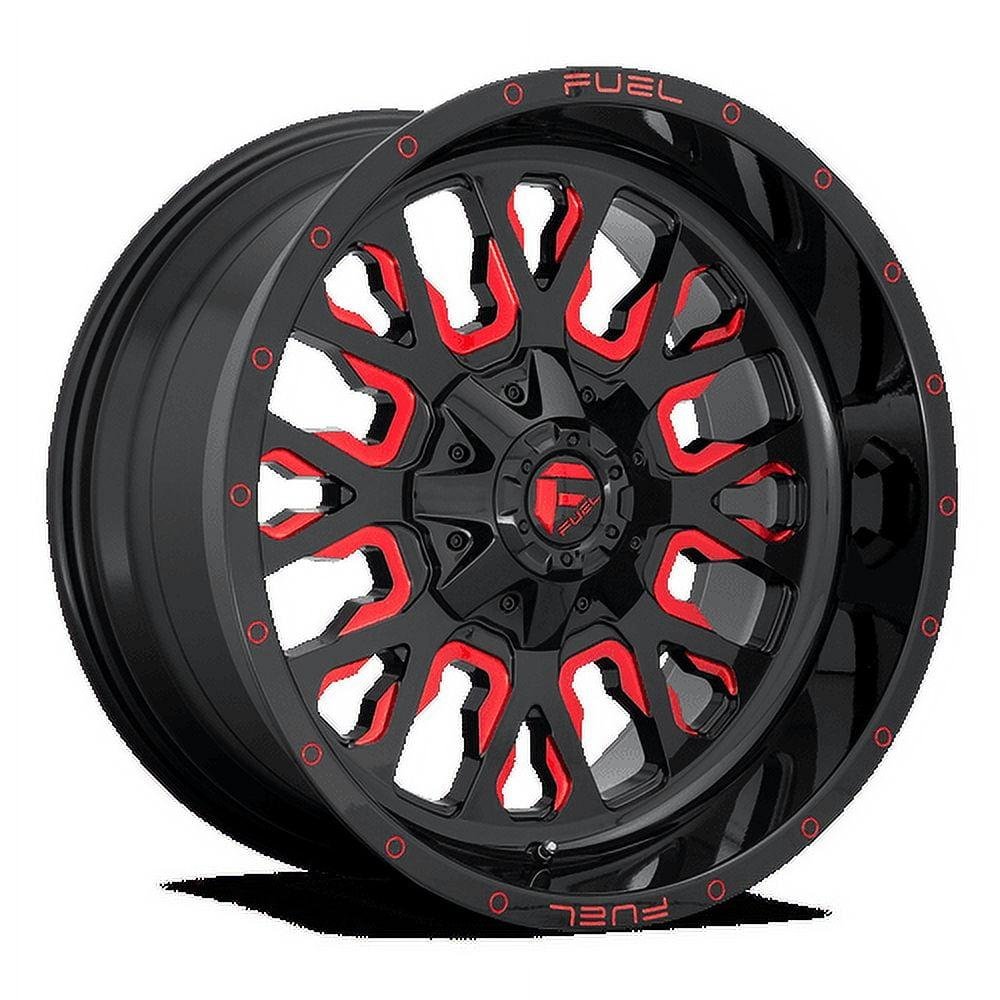
Explore related products


Always check the individual product listing for your vehicle and engine before ordering.